


5.3M+
TOTAL GAME VISITS
1,950+
DEVELOPERS HELPED
Each template is designed to be easily customizable and integrated into your own Roblox games.
Some of our templates are fully premade games that can be published within minutes after purchasing the file. It's that easy!
REVENUE GENERATED
Everything You Need In One Place
Plug & Play The Exact Assets I Used to Make Millions of Robux
THE ULTIMATE BUNDLE!
Our BIGGEST Bundle Yet! Save $200+ with the complete shopdehapy bundle!


MEET DARTED
10+ Million Robux Earned
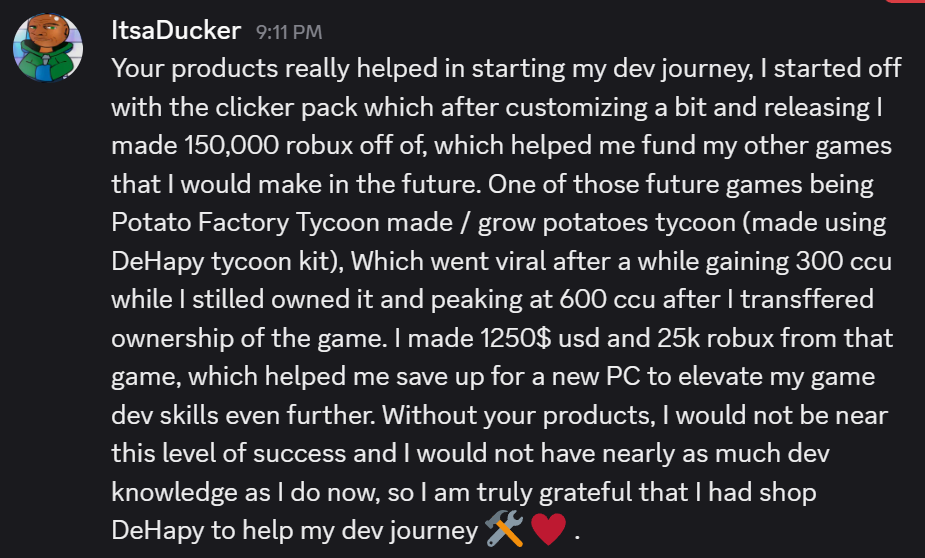
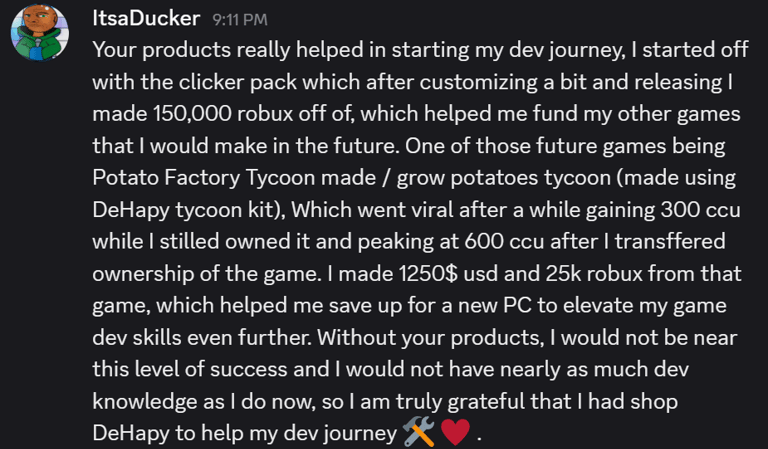
Darted is a successful developer who started with ShopDeHapy products.
In early 2024, he purchased a $38 simulator pack which he then used to create his first game, "Sushi Clickers"
Following the success, he created a second version of the game titled "Sushi Clickers X".
These two games combined made him over 2.5 million Robux.

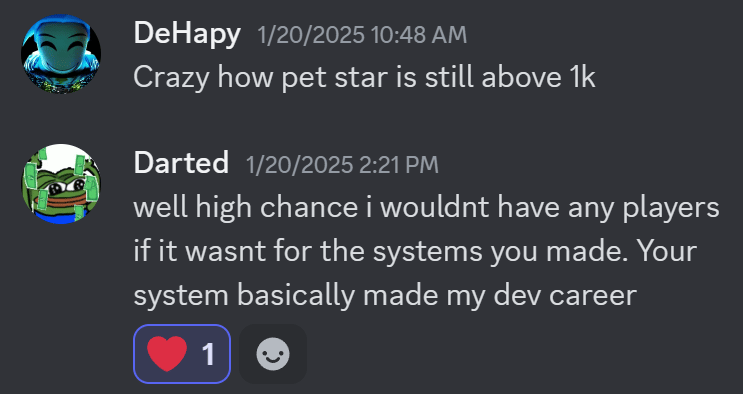
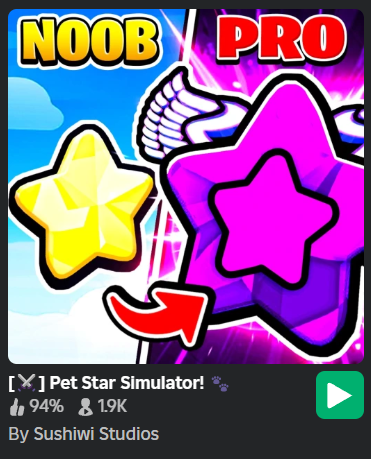
In January 2025, his newest game titled "Pet Star Simulator" accumulated 8 million Robux in its first month. (That's $20K+)
Now it's time to bring your dream game to life..
He's not the only creator who's seen great success with our game templates...
Inside ShopDeHapy
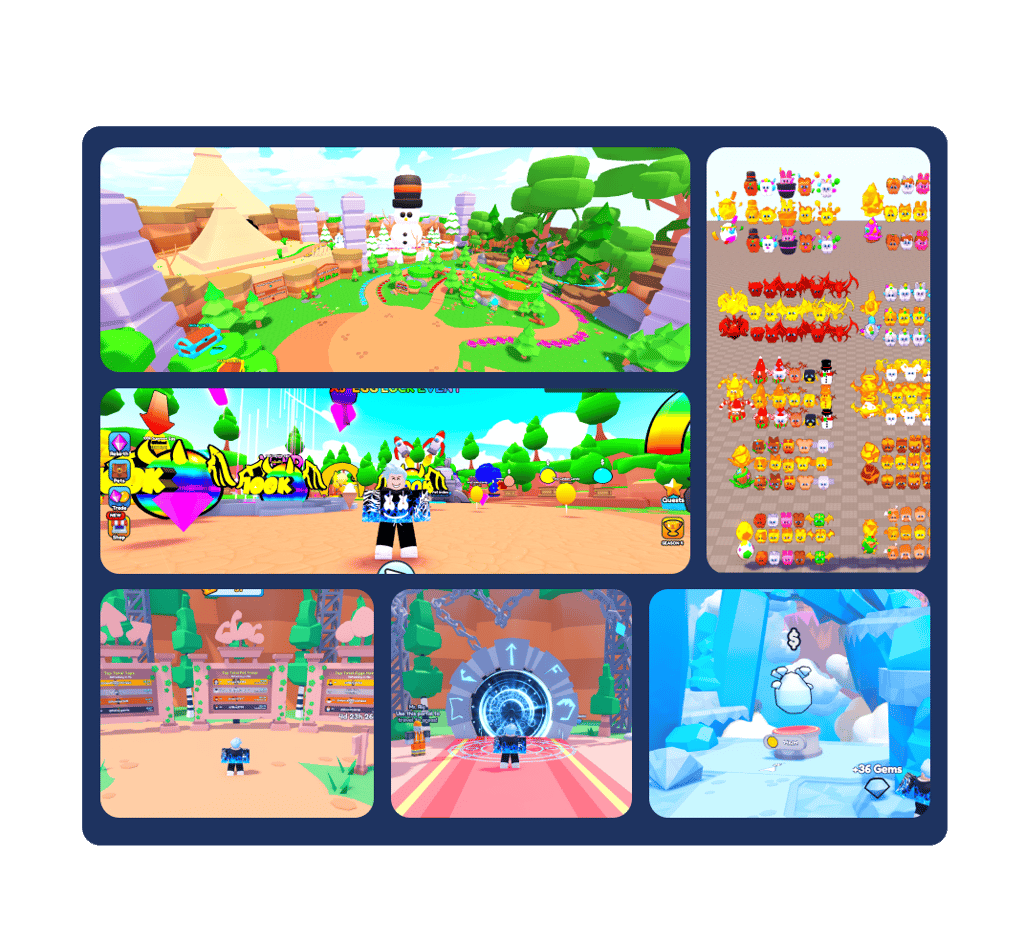
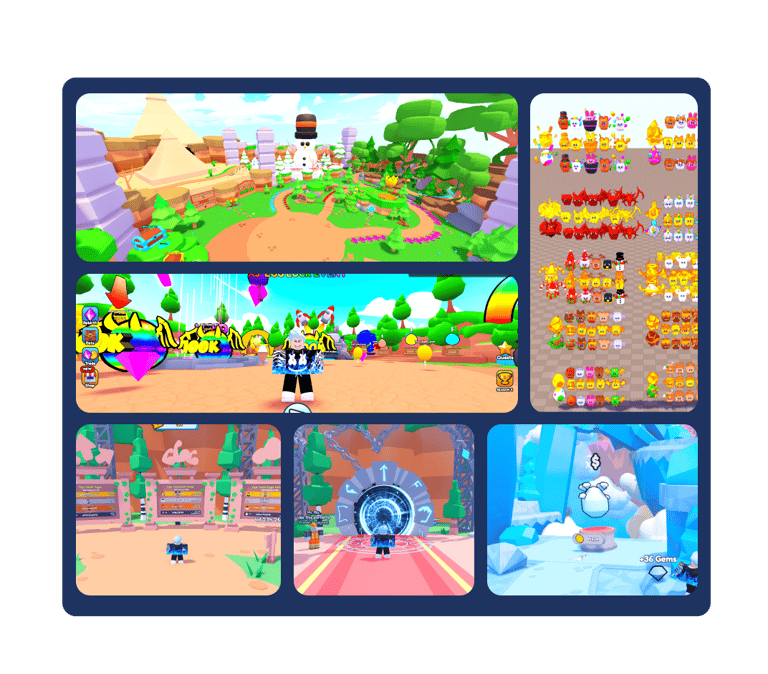
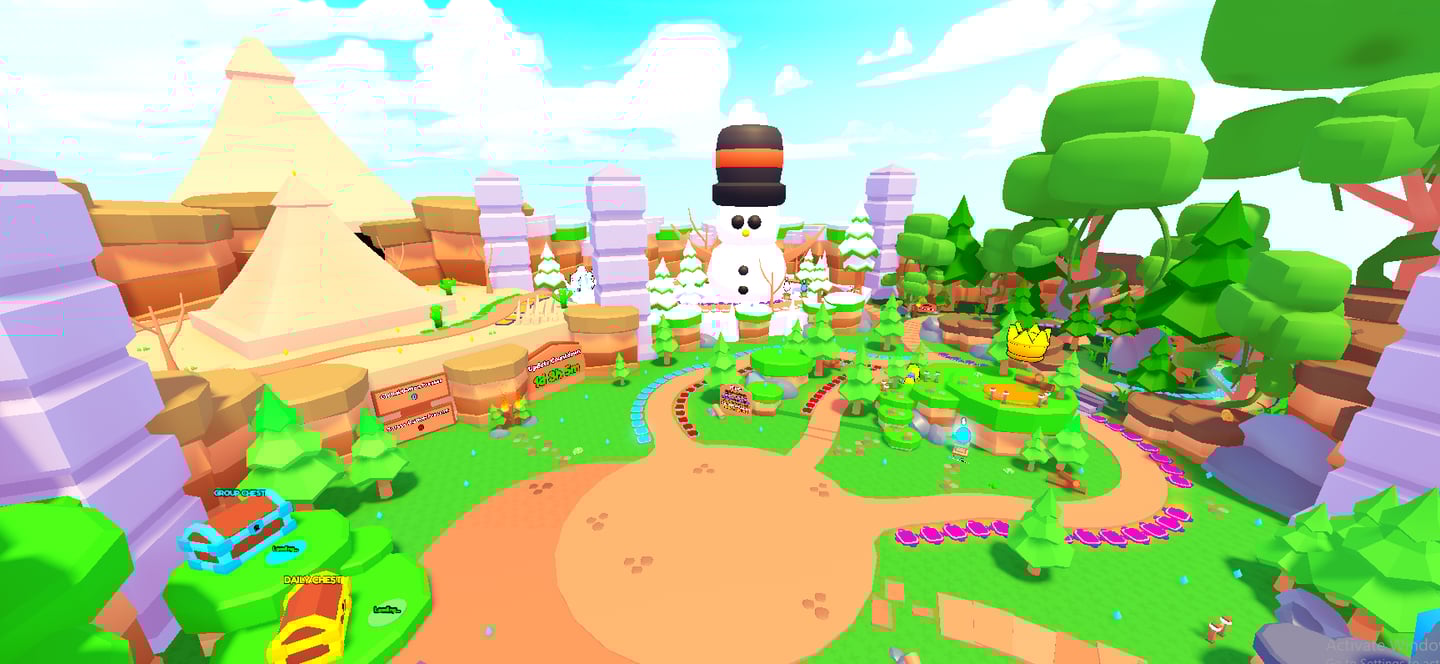
#1 - PRE-MADE GAMES
Pre-Made Plug & Play Games
#2 - TRAINING PROGRAM
Intimidated by the various skills required to make a game? No problem! We also offer scripting lessons for both beginner and advanced developers to help you master the LuaU coding language. For more specific issues, we even offer 1 on 1 coaching!
1-on-1 Coaching
#3 - ESSENTIALS
Industry-Leading Assets

Don't want to make a game from scratch? We got you. ShopDeHapy offers a variety of game templates that you can publish within minutes. Each template is optimally scripted for you to make customizations with ease. If you ever need help, we offer free guidance in our discord server.
If you're not looking to purchase a full game, we also offer asset packs that are used in most roblox games. These assets help you speed up the game development process and are easy to integrate with your already existing projects.


Ready to start your own successful Roblox Game?
We've got everything you need to start creating TODAY!
You want to progress as a roblox developer before the competition gets too high for anyone to rise up.
Thousands of people are working on new Roblox games each day, making it even harder to stick out as a roblox developer.
If you speed up your development journey today, it could completely change your future success as a developer.
Take Action Before It's Too Late
Join 7000+ Other Developers


MEET THE FOUNDER
Hey, I'm Dominic!
My friends and I used to frequently try making a basic Roblox obby or tycoon, and we FAILED MISERABLY...
I had always dreamt of creating a game that other people actually enjoyed, but game development was very scary to me because of the various skills involved.
But one day I decided to try making a game in 24 hours, all while documenting the process for a YouTube video.
The game was TERRIBLE. But it gave me the confidence to continue learning about game development.
After just 6 months of learning the basics, I had a game with over 200 concurrent players that was generating me hundreds of thousands of Robux.
Fast forward to present day, where I have several developers working for me and am able to publish a game with high confidence in the success of the game.
My mission with this website is to make game development less scary for everyone and save you months of time.
©ShopDeHapy 2025. All rights reserved
For Business Inquiries: dmbuoscio@icloud.com